
How to Send Conversions from AnyTrack to Zapier
Learn how to send conversion data from AnyTrack to Zapier using webhooks to automate your marketing workflows
Overview: Connecting AnyTrack Conversions to Zapier
This guide shows you how to send conversion data from AnyTrack to Zapier using webhooks. You'll create a connection that automatically sends your AnyTrack conversion events to any of Zapier's 5,000+ supported apps whenever they occur.
Benefits: Why Automate Your Conversion Data Flow
Connecting AnyTrack to Zapier allows you to automate your marketing workflows and eliminate manual data entry. When conversions happen in AnyTrack, they can automatically trigger actions in your other tools like adding leads to CRM systems, updating spreadsheets, sending notifications, or creating follow-up tasks.
Step-by-Step Setup: Creating Your AnyTrack to Zapier Integration
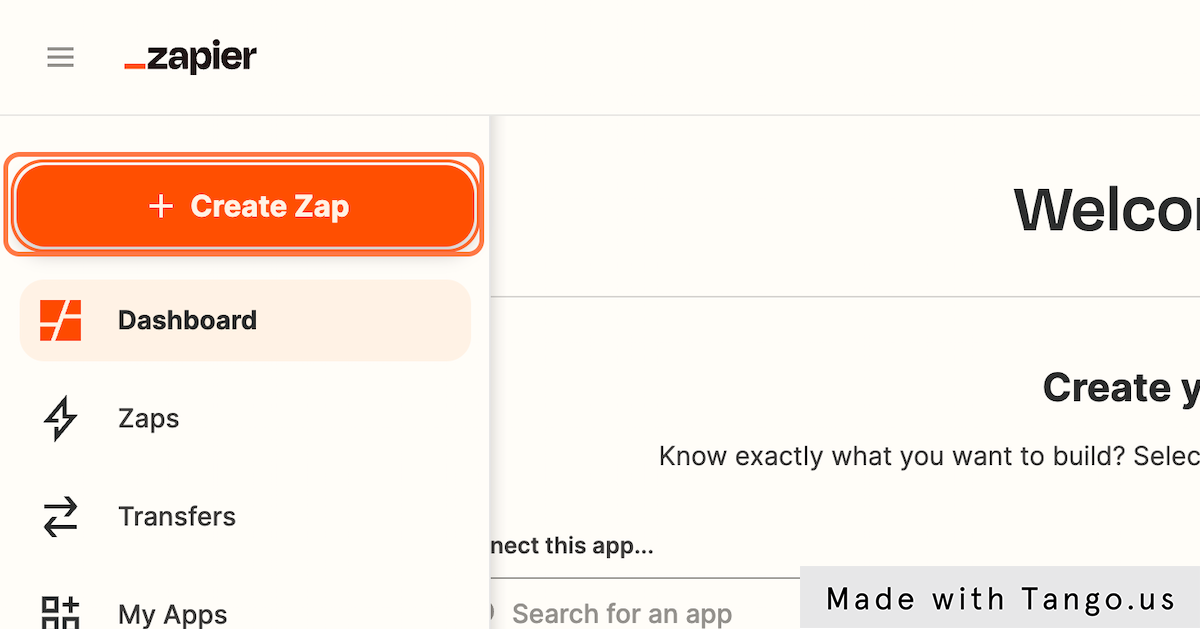
Step 1: Create a New Zap
Start by setting up a new automation workflow in Zapier that will receive your conversion data.
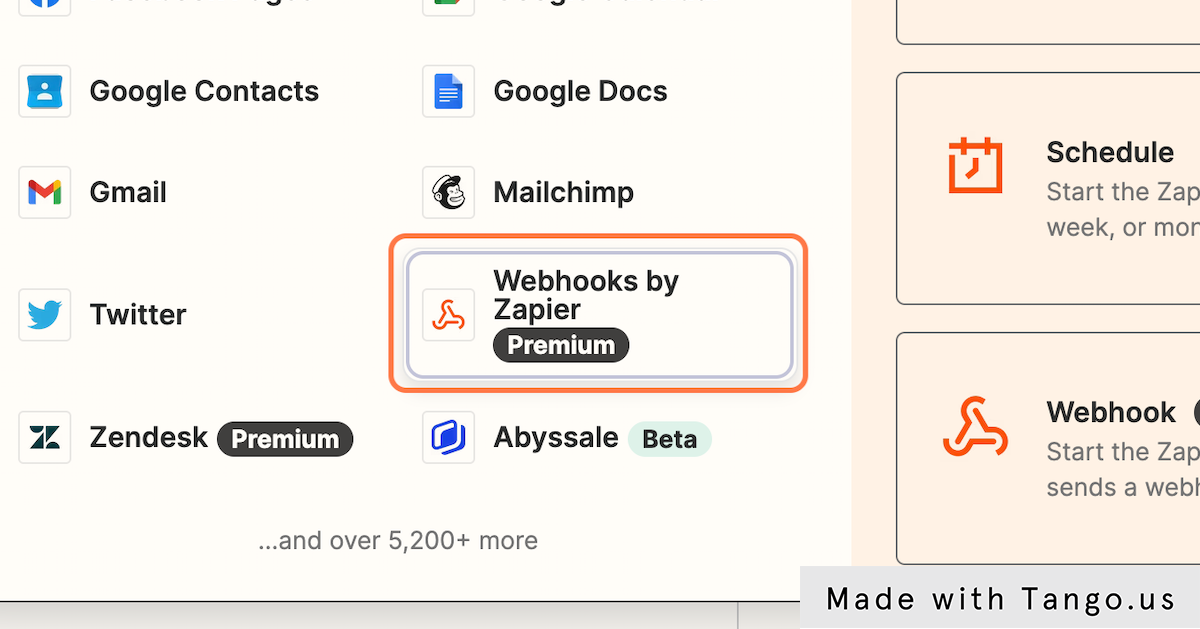
Step 2: Select Webhooks by Zapier
Choose the Webhooks integration as your trigger app since AnyTrack will send data via webhook.
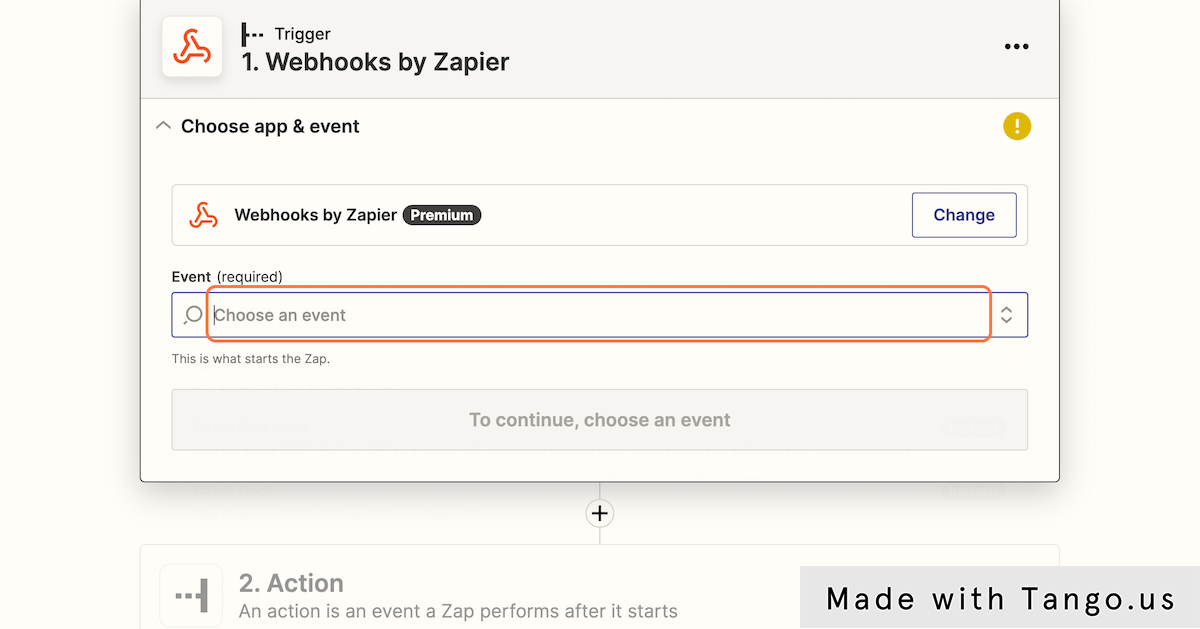
Step 3: Choose the Trigger Event
Select the event type that will start your Zap when AnyTrack sends conversion data.
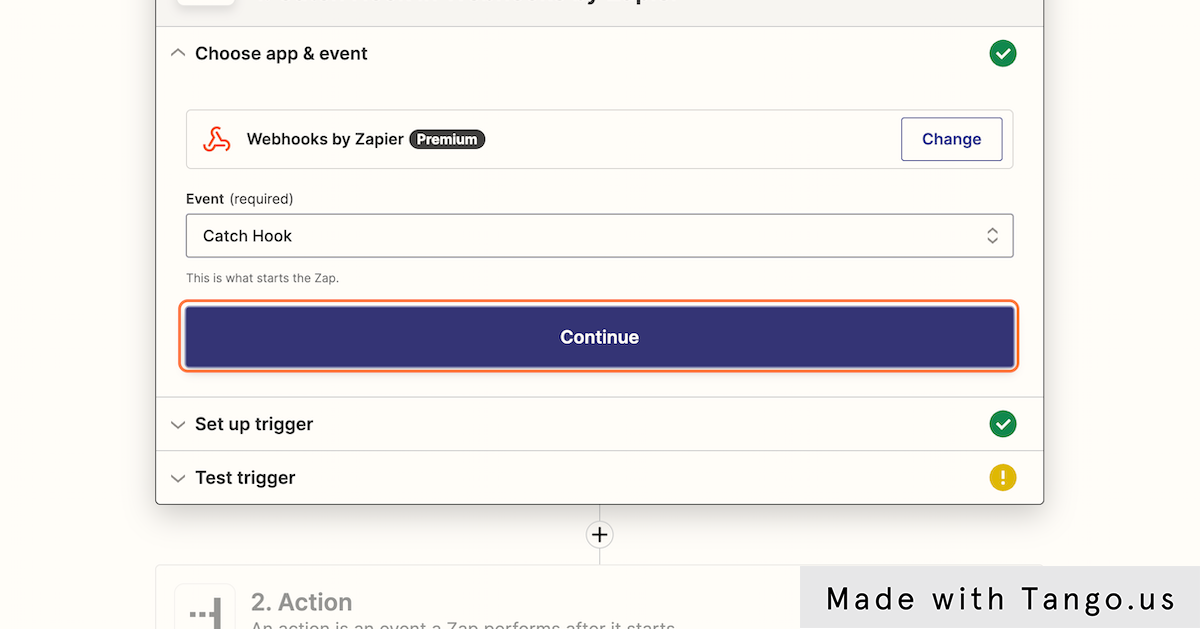
Step 4: Select Catch Hook and Continue
Configure Zapier to listen for incoming webhook data from AnyTrack.
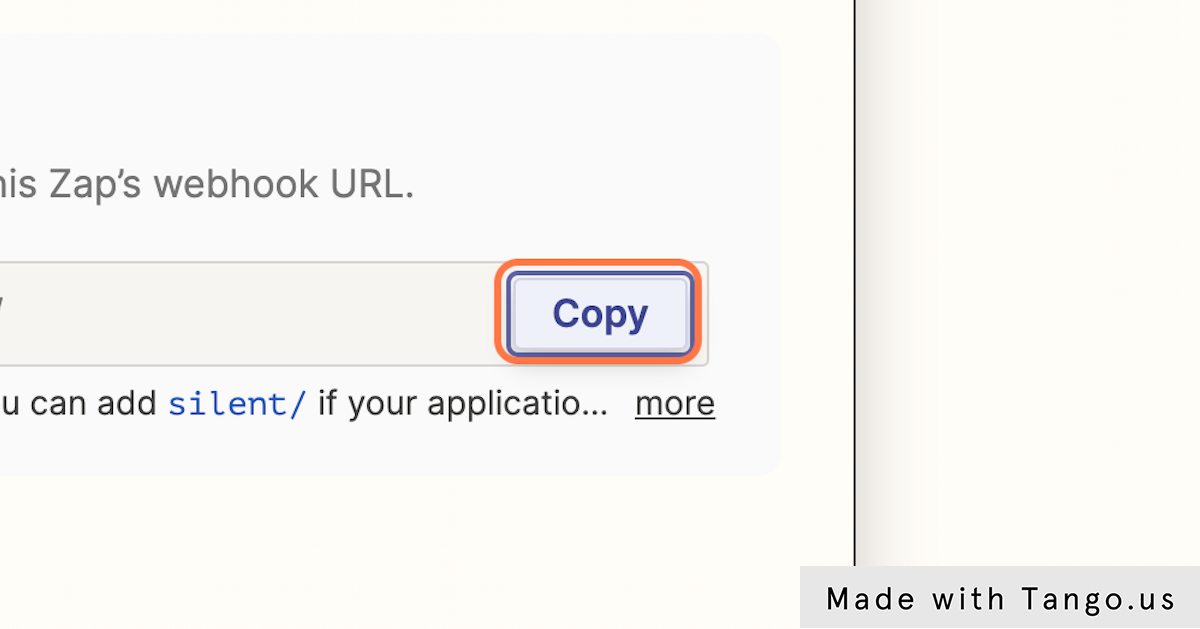
Step 5: Copy the Webhook URL
Save the unique webhook URL that Zapier generates - you'll need this to configure AnyTrack.
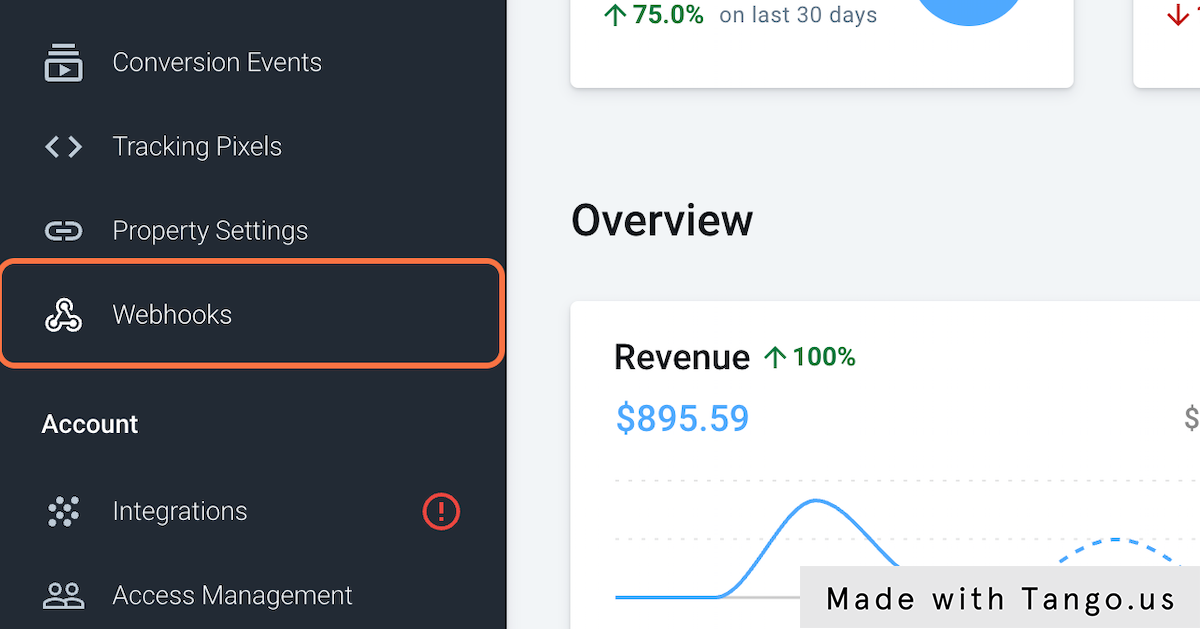
Step 6: Navigate to AnyTrack Webhooks
Open your AnyTrack dashboard and go to the webhooks section to set up the connection.
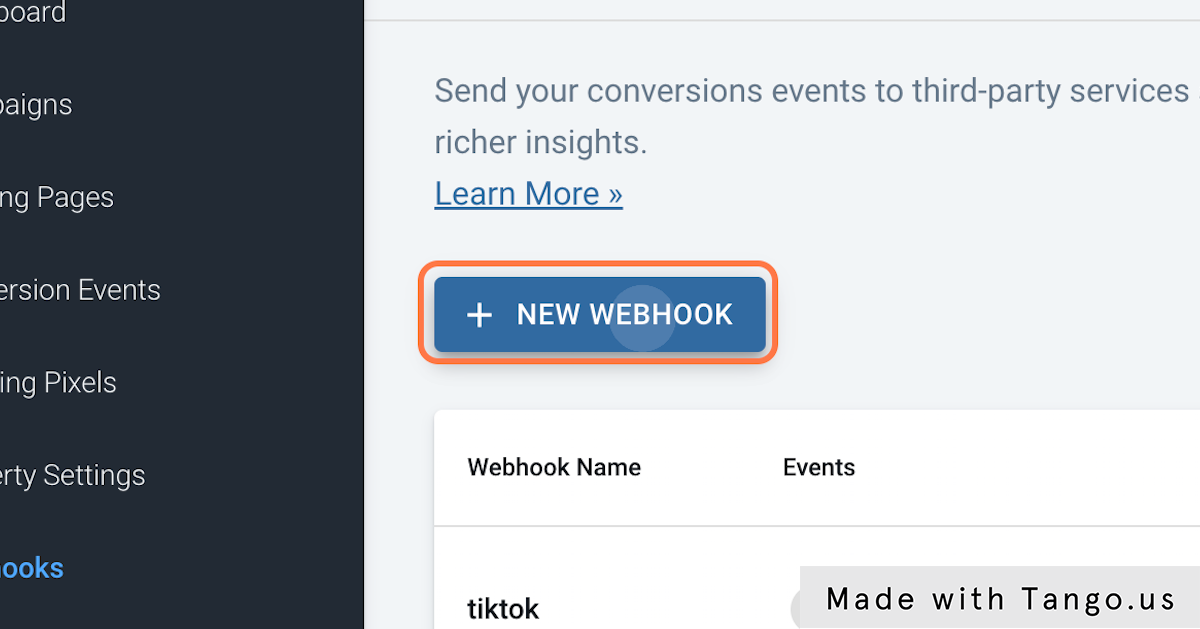
Step 7: Create a New Webhook
Add a new webhook configuration that will send your conversion data to Zapier.
Step 8: Configure the Webhook
Name your webhook and paste the Zapier URL you copied earlier to establish the connection.
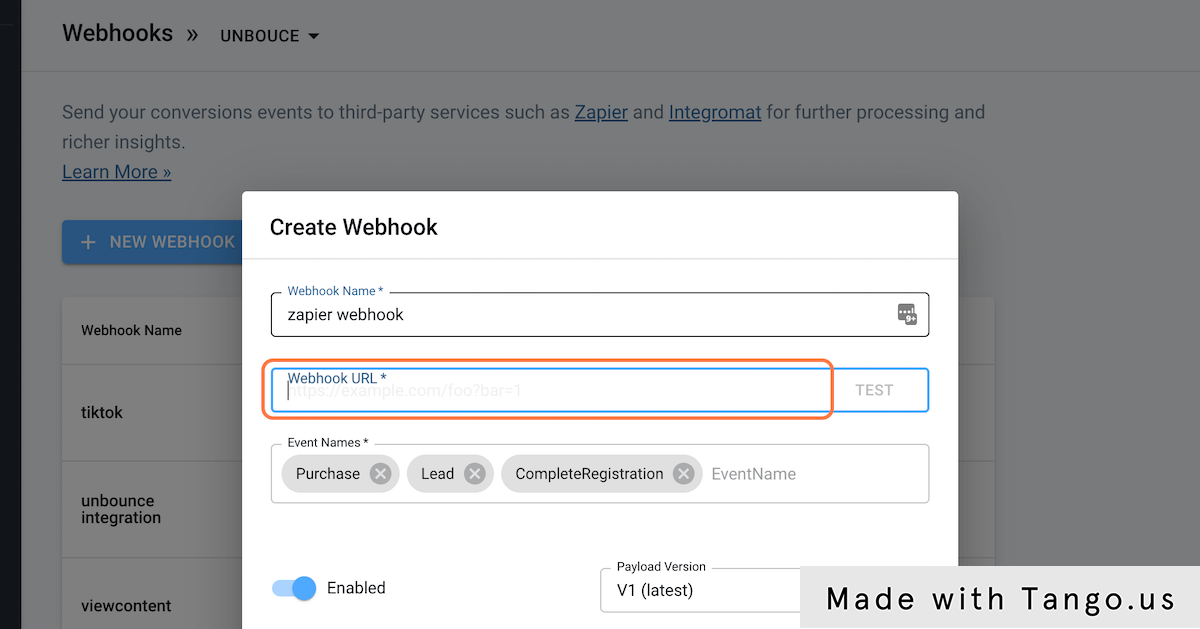
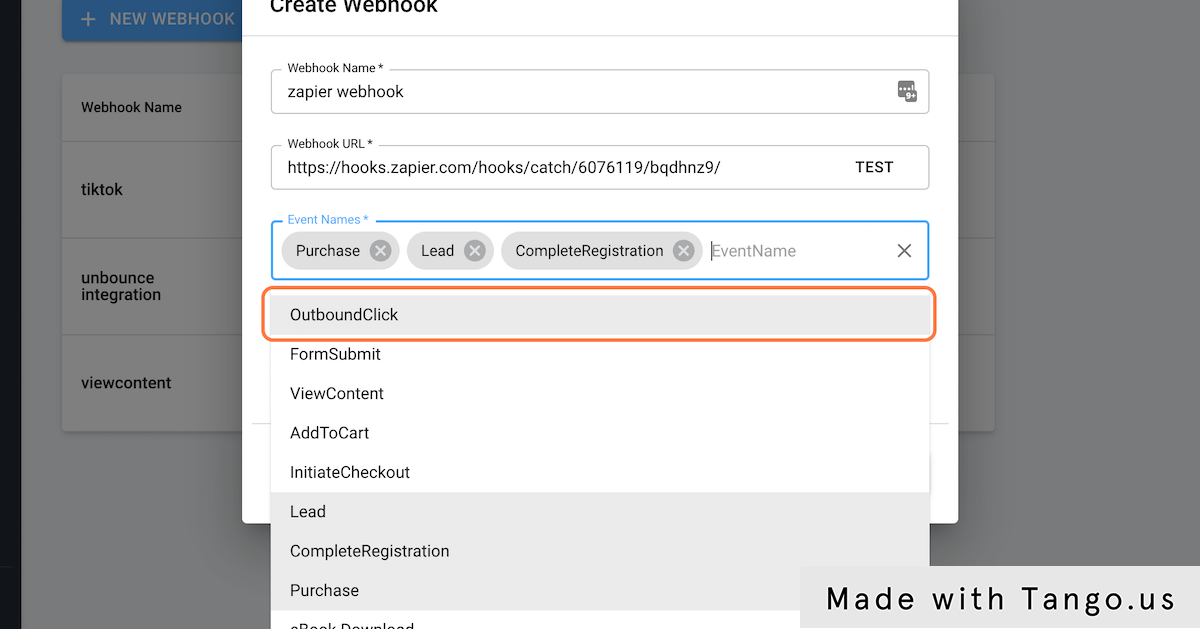
Step 9: Select Conversion Events
Choose which specific conversion events you want to send to Zapier to control your data flow.
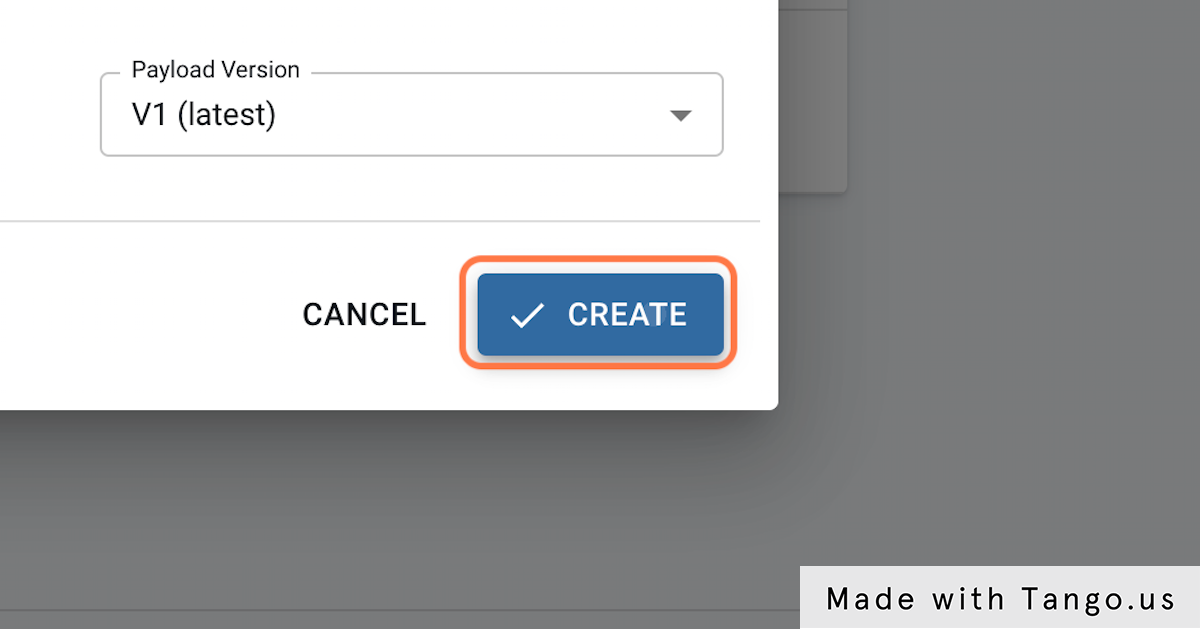
Step 10: Create the Webhook
Finalize your webhook configuration to start the connection between AnyTrack and Zapier.
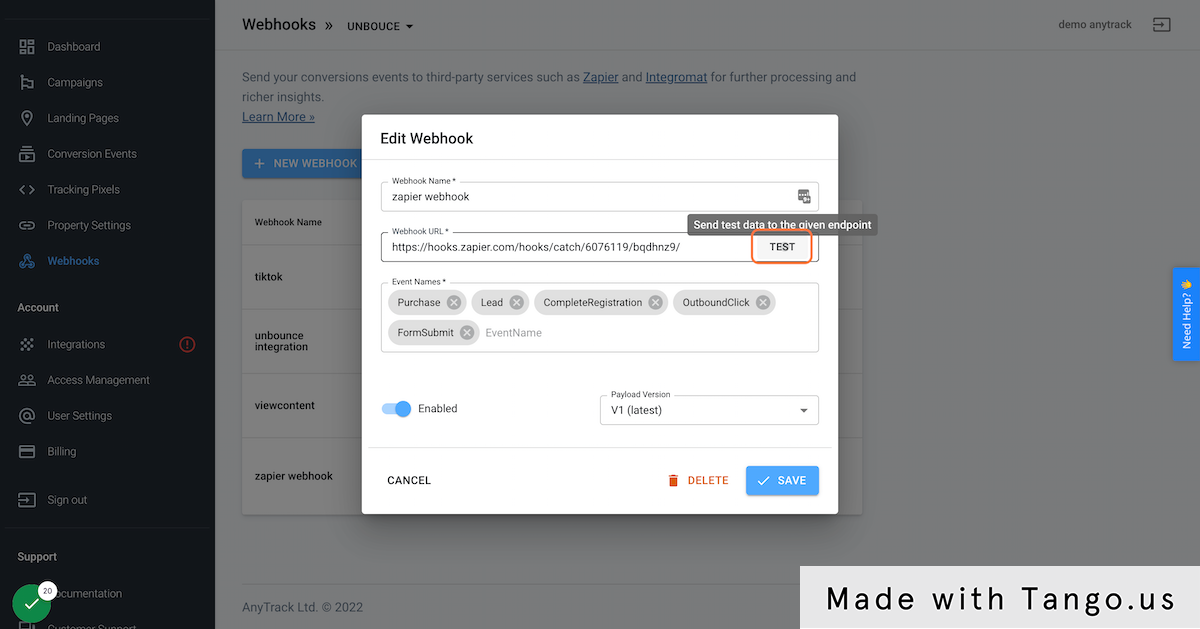
Step 11: Test and Save
Verify that your webhook works correctly and save the configuration for future use.
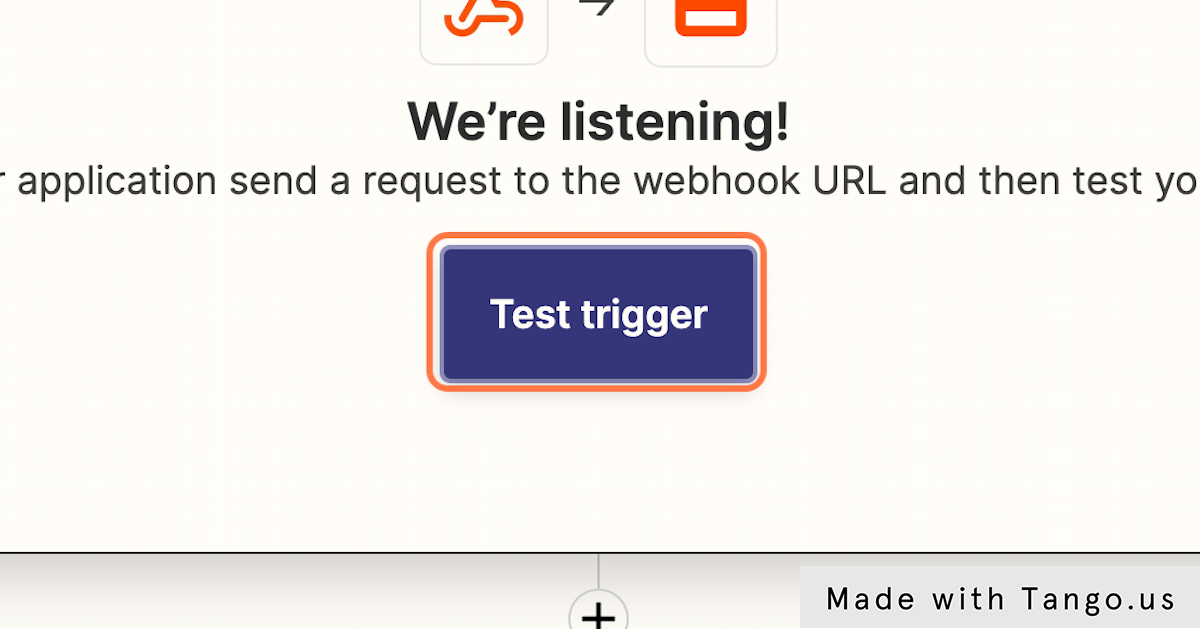
Step 12: Test the Trigger in Zapier
Return to Zapier and test that it receives data from your AnyTrack webhook correctly.
Step 13: Review the Test Data
Examine the conversion data that AnyTrack sent to confirm all the fields you need are available.

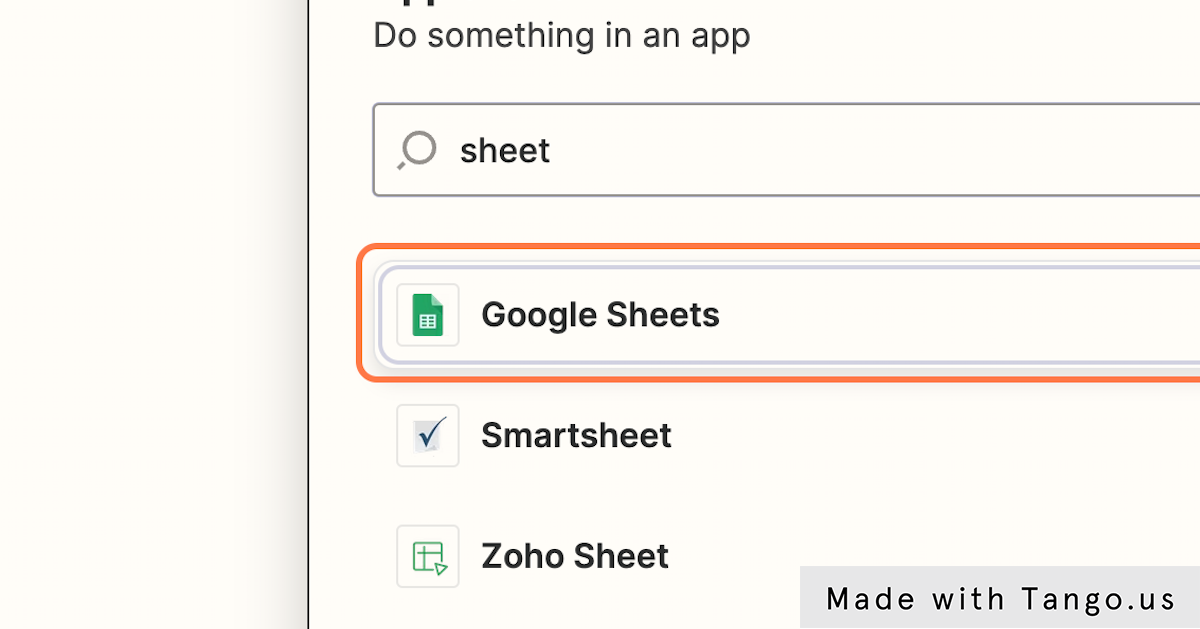
Step 14: Select Your Destination App
Choose the application where you want to send your conversion data from Zapier's extensive app library.
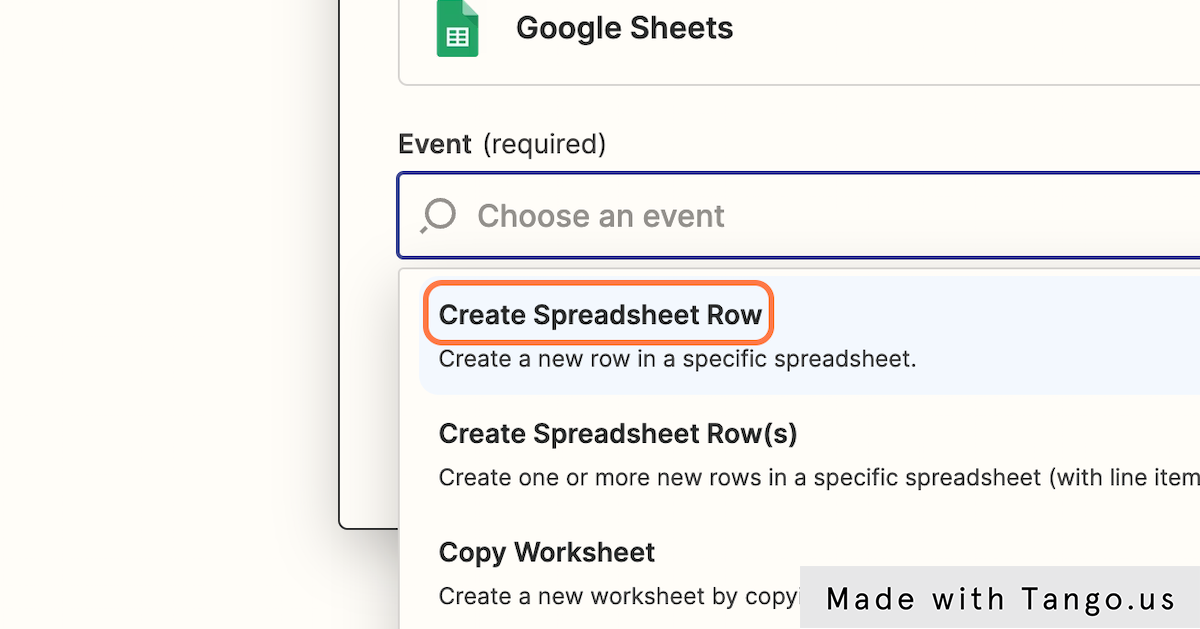
Step 15: Choose the Action
Select what specific action you want to perform in your destination app when conversions are received.
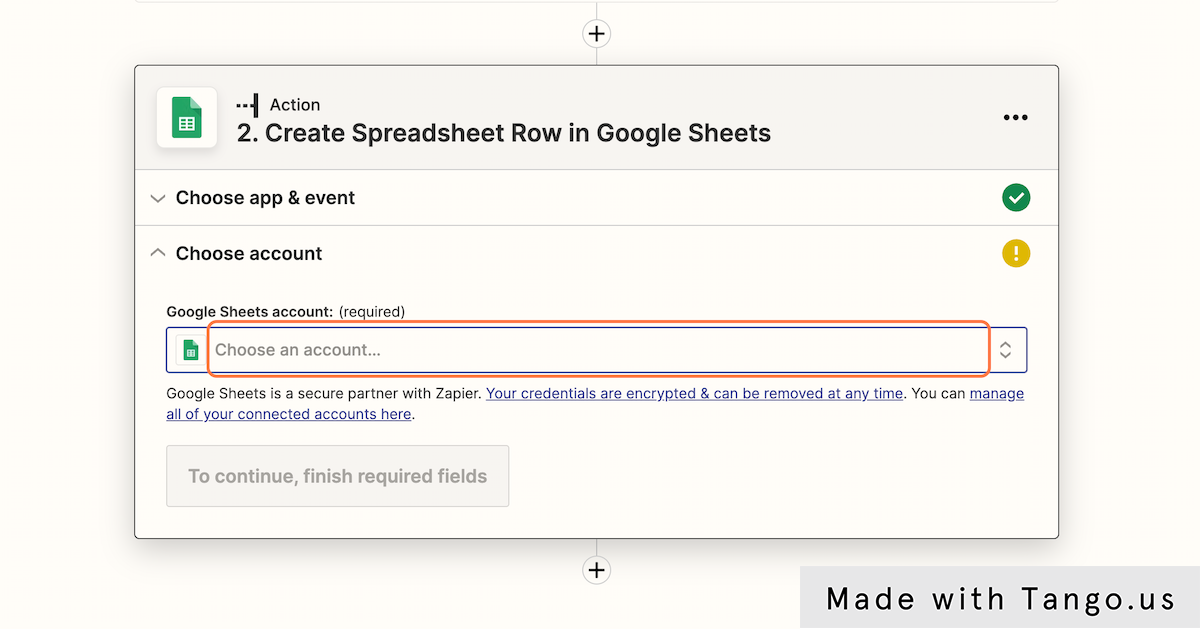
Step 16: Connect Your Account
Link your destination app account to Zapier to authorize the data transfer.
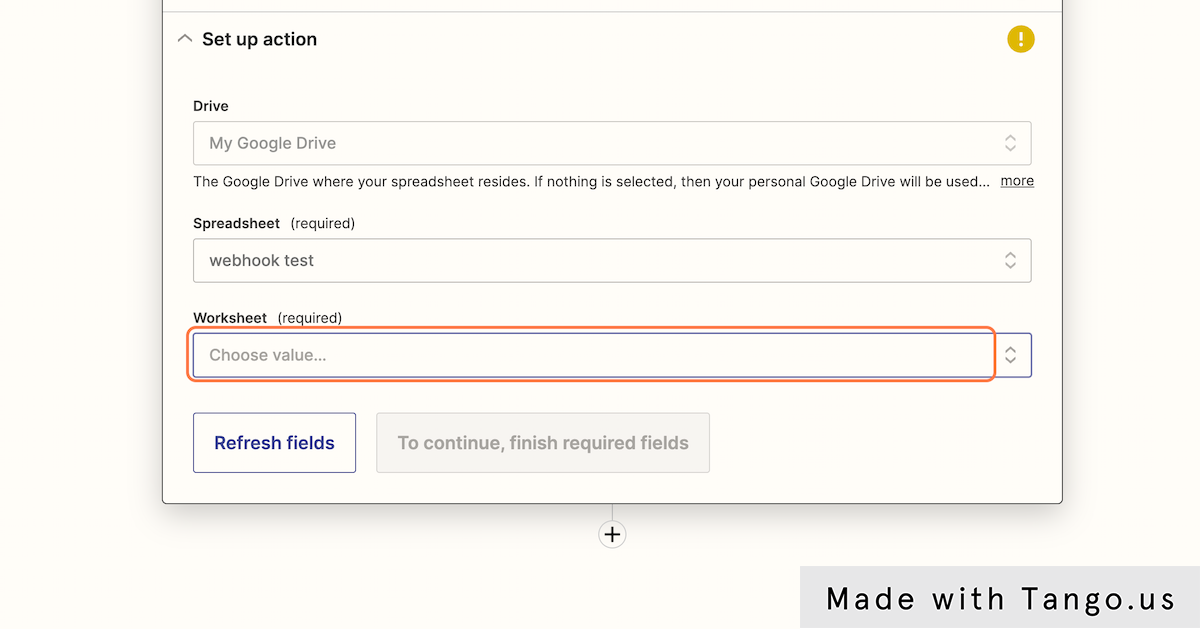
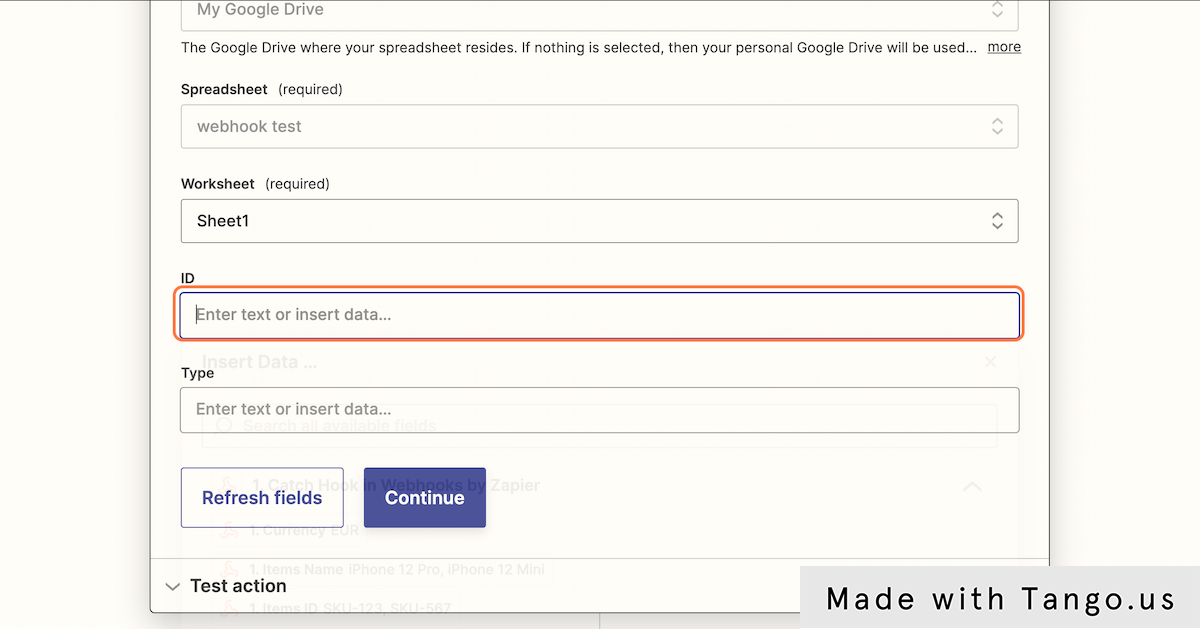
Step 17: Configure the Destination
Set up the specific location where you want your conversion data to be sent within your chosen app.
Step 18: Map Your Data Fields
Start mapping AnyTrack conversion data to the appropriate fields in your destination app.
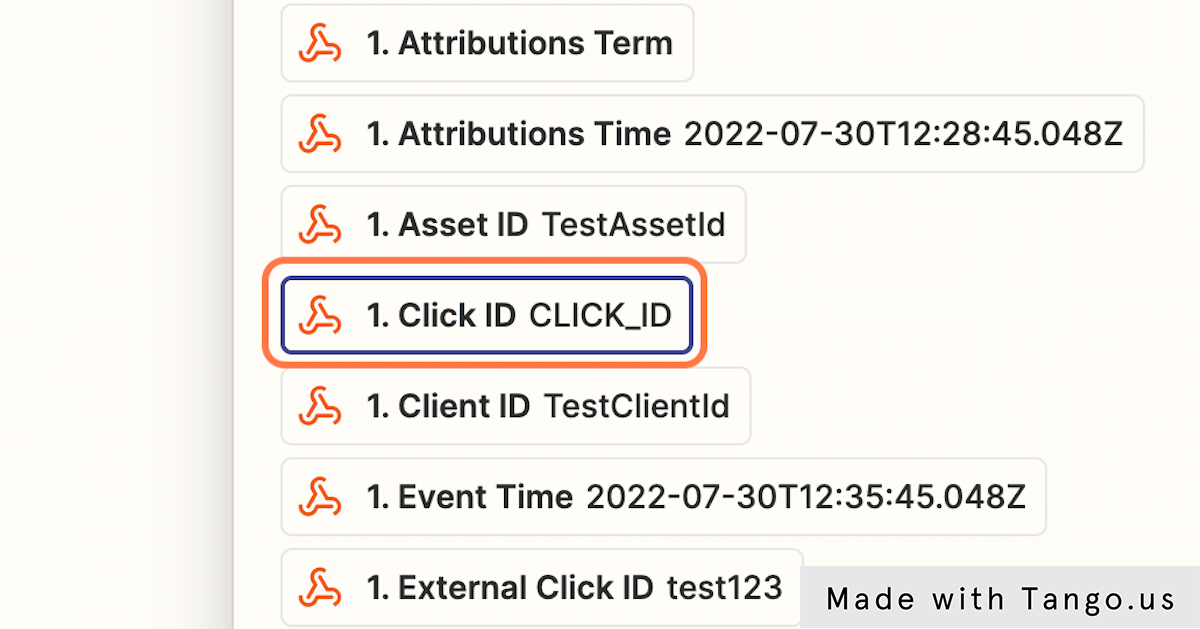
Step 19: Select Data Values
Choose the specific conversion data fields from AnyTrack that you want to include in each mapped field.
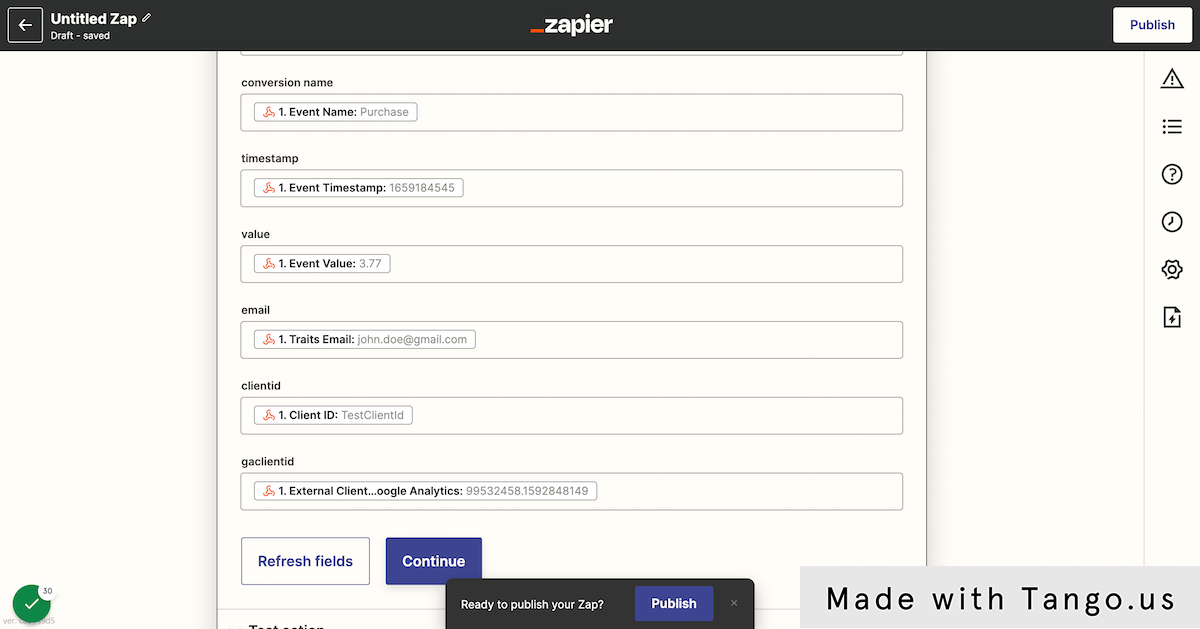
Step 20: Complete All Field Mapping
Continue mapping all the conversion data fields you want to transfer to ensure complete data flow.
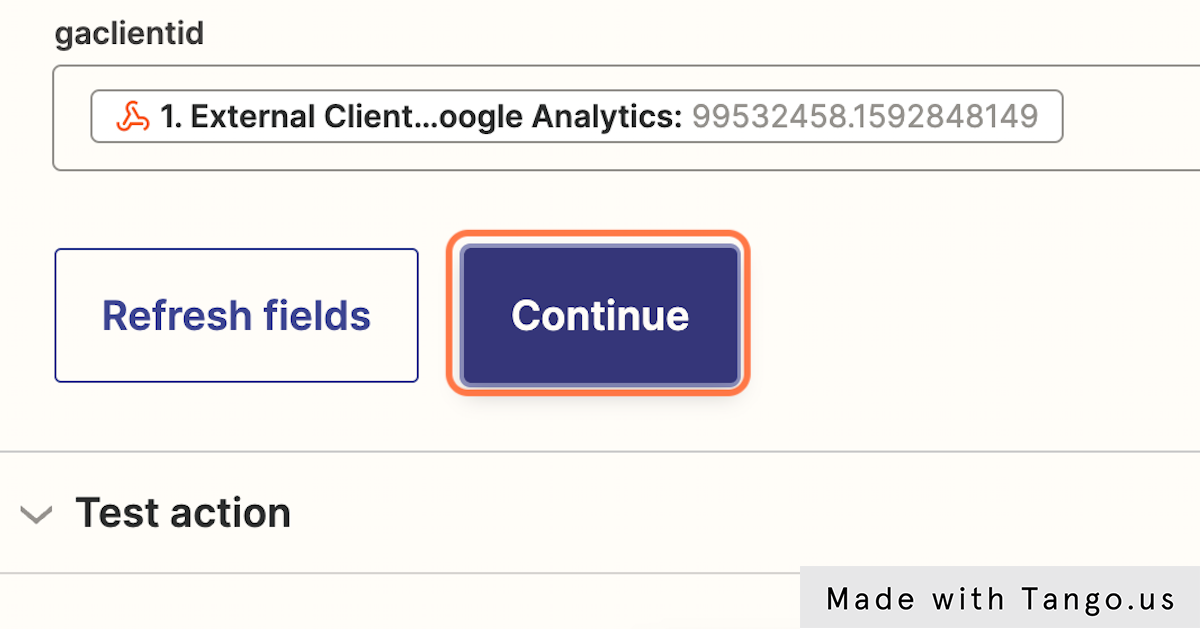
Step 21: Test the Complete Action
Verify that your field mapping works correctly by testing the complete automation workflow.
Step 22: Run the Final Test
Execute a complete test to ensure your conversion data flows properly from AnyTrack to your destination app.

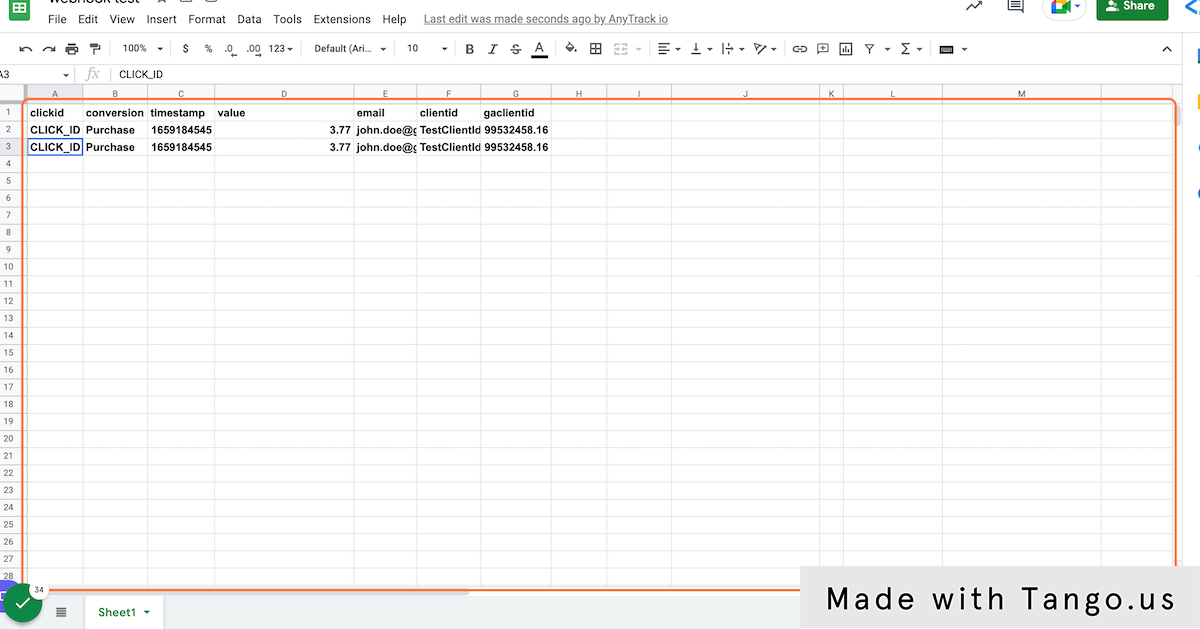
Step 23: Verify Data Transfer
Check your destination app to confirm that the conversion data arrived correctly and is properly formatted.
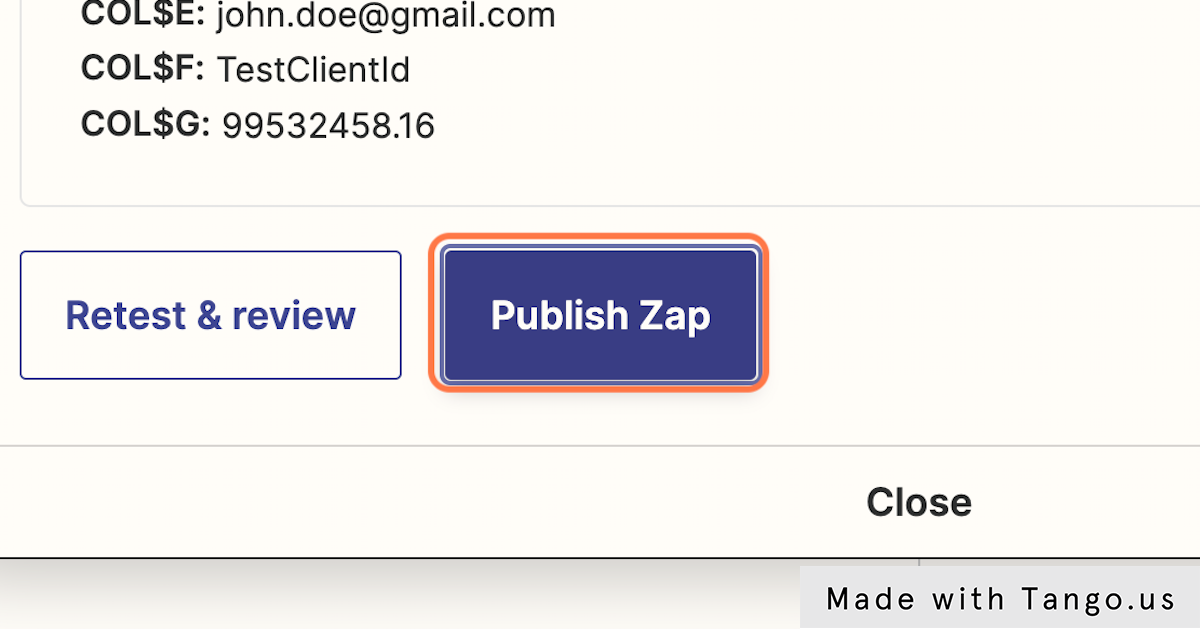
Step 24: Publish Your Zap
Make your automation live so it will automatically process future conversion events from AnyTrack.
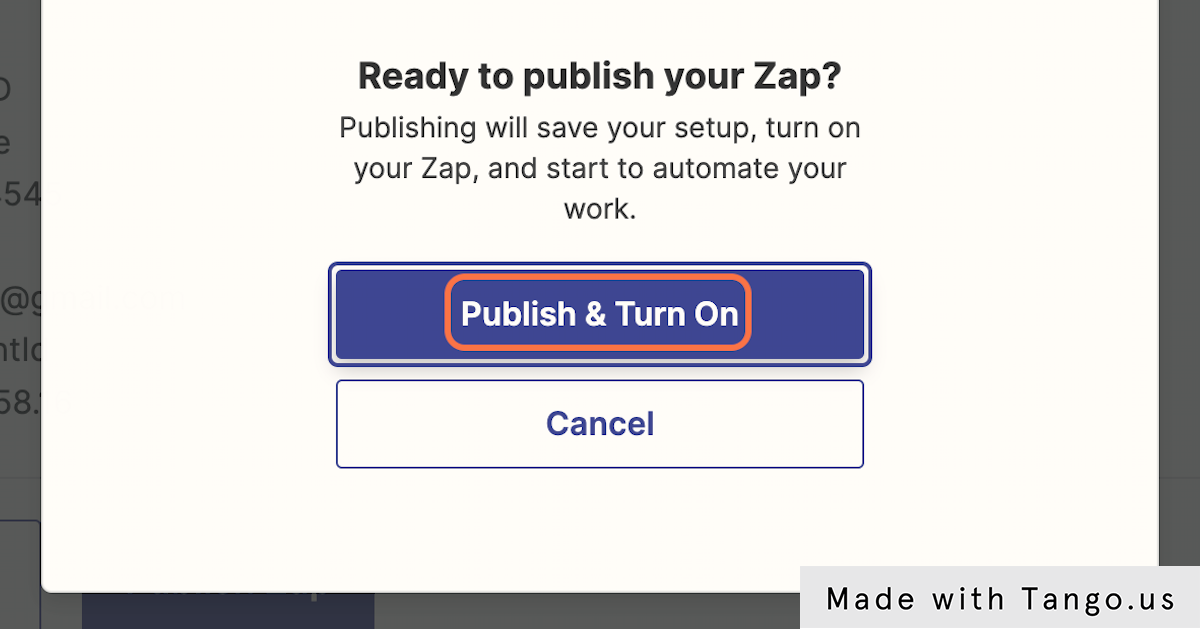
Step 25: Activate the Automation
Turn on your Zap to start the automatic transfer of conversion data from AnyTrack to your connected app.
Your automation is now active. Every time a conversion event occurs in AnyTrack, your Zap will automatically receive the event data and add it to your destination app according to the field mapping you configured.
Updated 18 days ago